How to Connect MetaMask to BSC Testnet
Setup MetaMask wallet & Configure it to connect to BSC — Explore the Spartan Protocol’s testnet DApp
Setup MetaMask wallet & Configure it to connect to BSC — Explore the Spartan Protocol’s testnet DApp
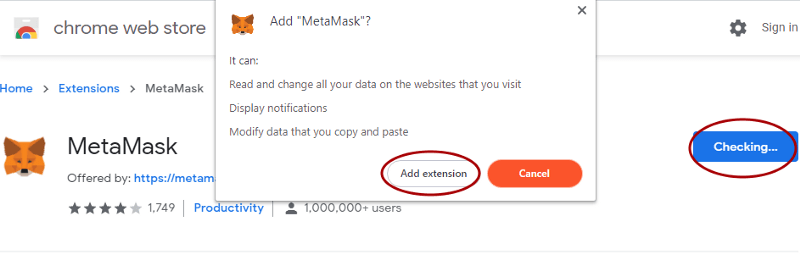
Install MetaMask Browser Extension
Visit the MetaMask website or browser extension marketplace and download the MetaMask extension for your preferred web browser

Create a MetaMask Wallet
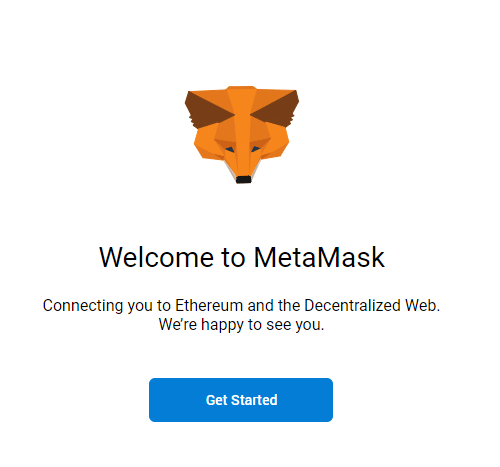
Once the install is completed you should be forwarded to a “Welcome” screen, start by clicking “Get Started”
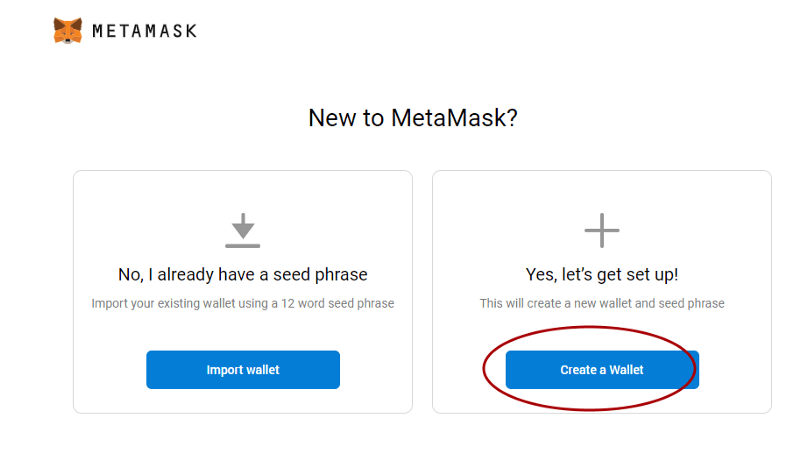
Then click “Create a Wallet”
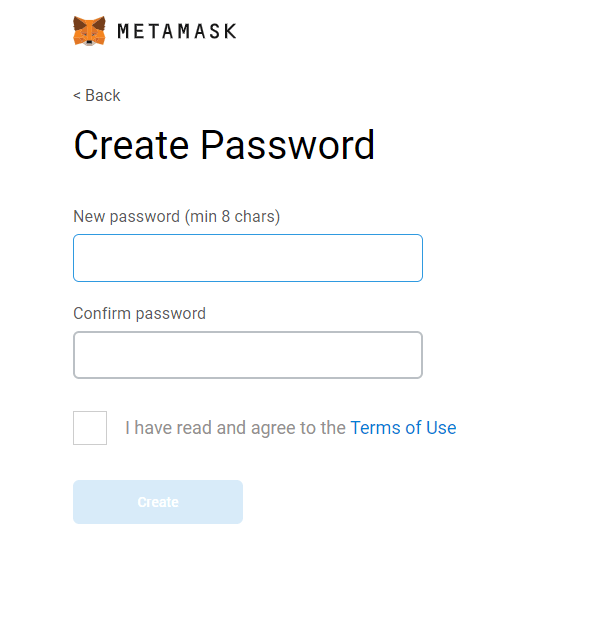
MetaMask Password
Create a password to be used to secure your MetaMask plugin. This is so that no-one can see your account info without entering the password.
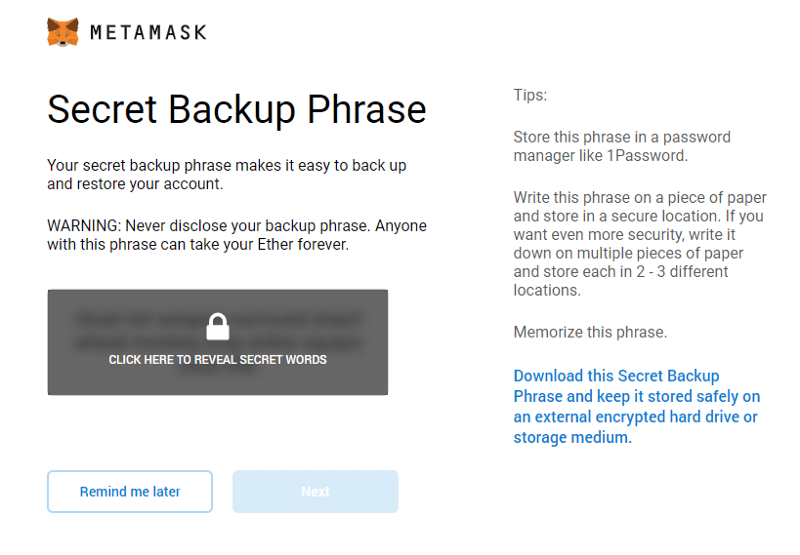
Wallet Secret Backup Phrase
Your new wallet will have a secret backup phrase. This is for recovering your wallet and must be kept secret. You should write down these words on a piece of paper and store them in a secure location in case of an issue requiring recovery of your wallet.
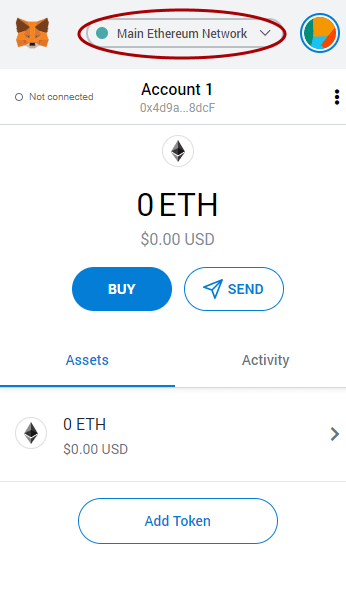
Connect MetaMask to BSC Testnet
Now that your wallet is setup, we need to configure it to connect to Binance Smart Chain, this is easy to do and easy to change between networks using the button near the top of the app
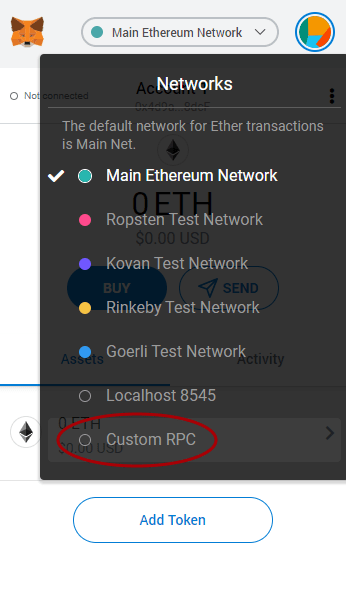
Click on “Custom RPC” if you have not previously added the BSC testnet information
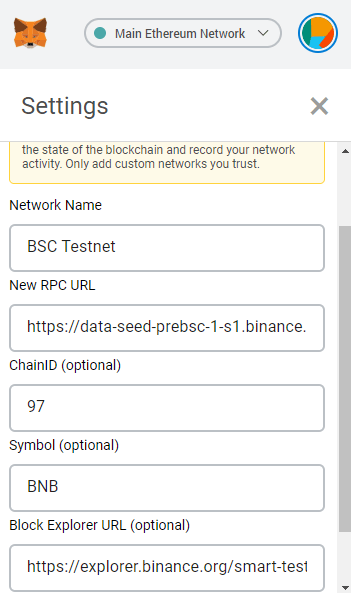
Enter in the BSC testnet details as follows:
Network Name: BSC Testnet
New RPC URL: https://data-seed-prebsc-1-s1.binance.org:8545
ChainID: 97
Symbol: BNB
Block Explorer URL: https://explorer.binance.org/smart-testnet
Then press “Save”
Claim Testnet Tokens from Faucet
Now that you are connected to the BSC testnet network, you need some funds for your wallet. Go to the following link to start the process: https://testnet.binance.org/faucet-smart
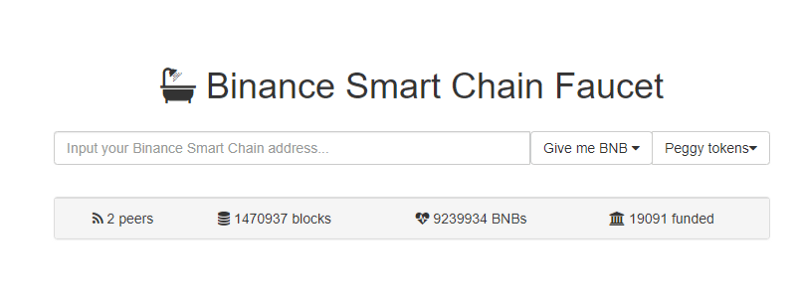
Bring up your MetaMask extension and click on your wallet address/account name. This will copy your wallet address to the clipboard for you to paste into the box on the faucet screen.

Make sure you claim some BNB and also BUSD in ‘peggy tokens’ so that you have a range of tokens to play around with in the testnet. Keep in mind each wallet can only claim from the faucet once per time period which increases each time you use it. So you might want to come back a few times if you would like all the tokens. When finished, click on the MetaMask extension to confirm you have received the funds.
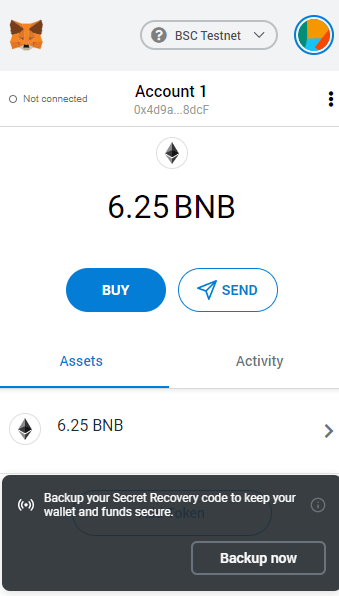
You will notice BNB shows up here but some other tokens may not. If they do not you need to click “Add Token”
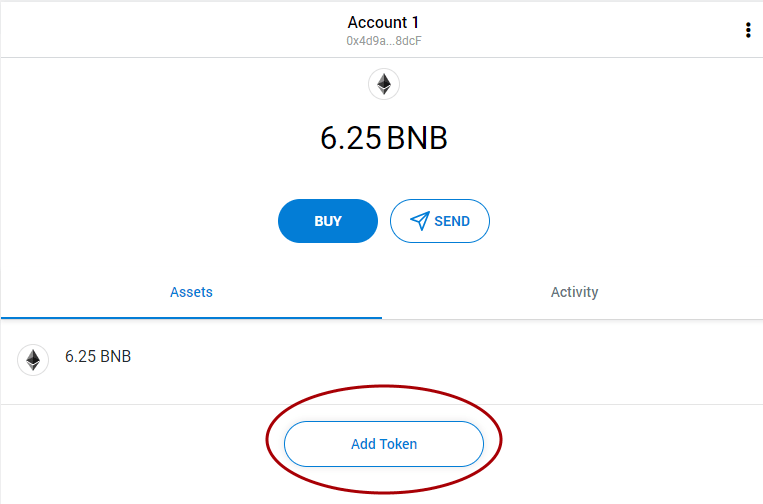
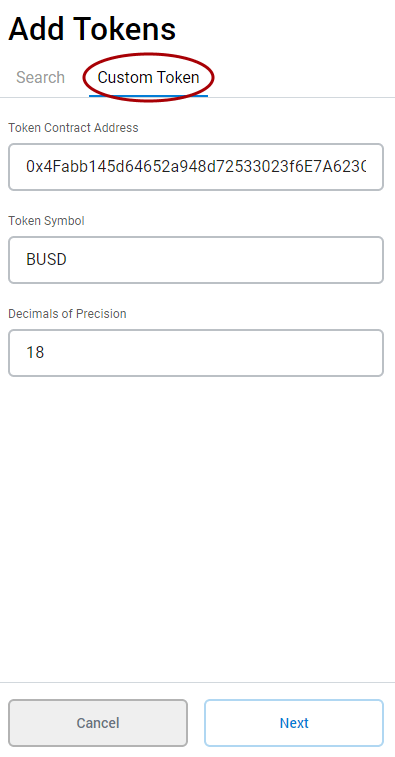
You will then need to click on the “Custom Token” tab and enter the token’s contract details, then click “Next” followed by “Add Tokens”.
BUSD token contract details are as follows:
Token Contract Address: Check transaction in explorer. Look for the symbol name, ie BUSD. Click it and then copy the contract address.
Token Symbol: BUSD
Decimals of Precision: 18
You can find the details for other tokens at BSC Scan Testnet, reach out if you would like assistance locating them
More info on BSC
https://www.binance.org/en/smartChain
Join the Shield Wall
Explore more information and get ready to participate in #BurningForSparta at https://SpartanProtocol.org
Official community channels:
- Github: https://github.com/spartan-protocol
- Medium: https://medium.com/@spartanprotocol
- Twitter: https://twitter.com/spartanprotocol
- Telegram Community: https://t.me/spartanprotocolorg
- Telegram Announcements: https://t.me/spartanprotocolann